Sunday, June 28, 2015

Gnocchi

Gnocchi; little Italian potato dumplings!

Although these tiny treats take a little extra time, they require a small amount of ingredients and go well with almost any style of sauce.

What You Will Need: Russet Potato, Egg & Flour....yup, thats pretty much it.
 You will also need a ricer & a scale. 

Start by washing, wrapping and baking your potatoes for at least an hour, till tender. Allow them to cool so it is earlier for you to handle.


Bring a large pot of water to a simmer to cook the dumplings, along with an ice bath to rapidly cool them down.


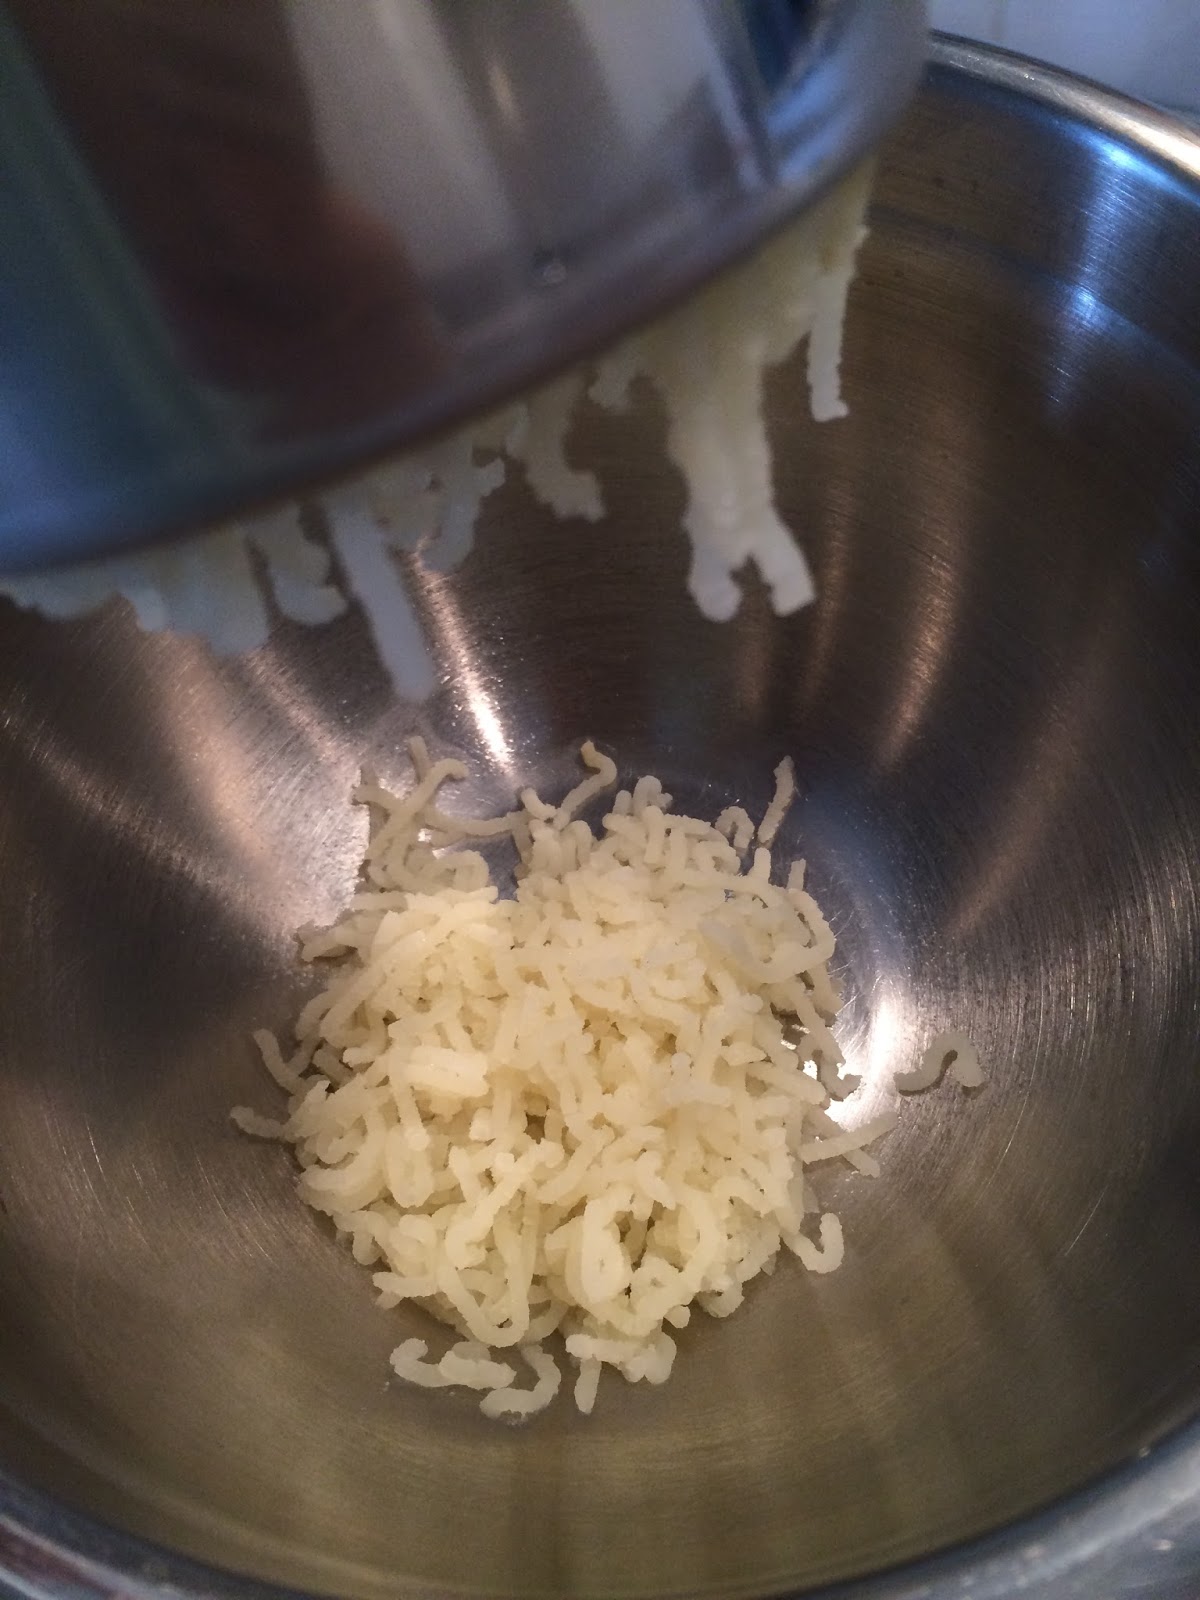
Using a small knife, peel the skin off the potato, cut in half and place in the ricer. Press through into a mixing bowl.


My rule of thumb is 1 lb, 1 egg & 1 cup. Weigh out one pound of the pressed potato, add one egg & 1 cup of flour. If you would like to make a flavored gnocchi, this would be when you would add those ingredients. Fresh herbs, a specialty cheese, pepperoni for kids, etc...
Lightly mix with your hands till incorporated. 


Place the dough onto a floured surface and knead together for a couple turns. Don't over work it. You just want to bring the mixture together. 


Using a pastry cutter or a knife, cut off a piece of the dough and using two hands (I had to use one to take the photo), start rolling the dough into a rope shape.


Gnocchi can be made in all different sizes, I aim for about 3/4 inch thickness and about 1 inch pieces. Don't try for perfect, uniform pieces, just eyeball it the best you can.


If you would like to give the gnocchi a more tradition look, use the back of a fork and lightly press into the dumpling. Personally, I choose to skip this step but feel free to add this touch for your dish.


One at a time, drop them into the simmering water. It doesn't take long for them to cook, just a couple minutes. Once they are all floating, scoop them out and place them directly into the ice bath.


(If you don't want to  finish cooking them at this time, cool, drain & toss them in some olive oil before sealing them in a container and keeping them refrigerated.)

After they have all cooled, pat them dry and place a large skillet over medium high heat. Add a drizzle of oil and place the dumplings in a single layer around the pan. Cook them to your liking, I prefer to give them a nice outer crust, still keeping the middle soft and creamy. 


At this point, you can be as creative or as simple as you would like. Toss the seared gnocchi with some parmesan cheese & fresh herbs or coat them in your favorite sauce such as marinara, alfredo or pesto.

I chose to make a simple sauce of homemade creamed corn & crispy bacon with a garnish of fresh basil & parmesan cheese.  


Gnocchi is a special dish for me. When I was an intern at the Riverside Inn in Leland, it was one of the first tasks given to me and I had to repeat the process every, single, day! I swear its a dish I could make in my sleep but every time I eat it, Im taken back to that kitchen, when I was just a young student, busting my butt to prove my worth. 

Its amazing to me that food can provide that instant travel through time moment. How a certain dish, or a combination of flavors & smells can transport you somewhere far, far away. It's without a doubt one of the things I love most of cooking! 

-----------------------------

Enjoy & Always Cook with Love!


Wednesday, June 24, 2015

Bruschetta

Bruschetta has a small amount of ingredients, packs big flavor & is a great addition to your summertime menu!

What You Will Need: Tomatoes, fresh basil, garlic, salt/pepper, olive oil & your choice of bread.


Dice the tomatoes and place into a strainer to allow the extra liquids to drain out. In another bowl, mince or grate a clove of garlic.


Roll your basil leaves into a tight cigar shape & thinly slice.


Combine the tomatoes, garlic, basil, S/P & a drizzle of olive oil together. Mix & chill till ready to serve.


For your bread, cut into thick slices, butter each side and toast until golden brown in a large skillet. 

If you are doing this is a larger batch, feel free to fill a baking sheet, drizzle with olive oil and bake in the oven till toasted.


When your ready to serve, pile on the tomato mixture & feel free to welcome garnish with different options such as whole basil leaves, a drizzle of balsamic vinegar, shaved parmesan cheese or crumbled feta. 


Enjoy & Always Cook With Love!!


Apple, Bacon & Sage Stuffing

Apple, bacon & sage are a trio made in heaven! Combined, they make this amazing blend of sweet & savory. By using some leftover corn muffins, we will make a delicious stuffing that is a great addition for numerous dishes.

What You Will Need: Dried, day old bread (I had three leftover corn muffins), cooked bacon, apple-peeled and chopped, red onions, celery, sage, garlic, chicken broth, butter & salt/pepper.


Melt your butter, adding the celery & onions. Cook 3-5 minutes, then add in the garlic.


Reheat the bacon, then toss in the apples. Allow another 3-5 minutes.


The corn bread now joins the party, along with the minced fresh sage. (If you don't have fresh, you can use dried).


Slowly, you want to add in the chicken stock. Mix, allowing the bread to absorb the broth. Your looking for a mixture that is moist, but not drenched in stock. Add a little at a time...you can always add more but you can't take any away after its in.


At this point, your stuffing is complete & ready for your choice of usage. 

Fill the cavity of any poultry, serve with a seared pork chop, bake it separately for a side dish or pile it high on pan fried chicken cutlets!!

**Chicken breast was butterflied & pounded thin. Seasoned with S/P, dipped in a thin coating of flour and seared quickly in a sauté pan with olive oil & butter. Accompanied by roasted asparagus & a quick sage gravy!!**


This flavorful stuffing takes something as simple as chicken cutlets to another level! 


You will definitely want to keep this recipe on hand, especially in the fall after a trip to the apple orchards! 

------------------------------------

Enjoy & Always Cook With Love


Tuesday, June 16, 2015

SHRIMP BOIL

Want a fun way to feed a crowd? One that is a one pot stop, easy clean up & packs tons of flavor? 

Look no further then a Shrimp Boil!!

What You Will Need: Shrimp, red skin potatoes, red onion, garlic cloves, lemons, sausage, corn, thyme, butter & old bay seasoning.


Get 4 quarts of water into a large stock pot. Cut and add in two lemons, red onion (outer skin removed), about 8 cloves of peeled garlic, 4-6 sprigs of thyme tied together & about 1/2 c. of the old bay seasoning. Bring to a boil and allow to cook for about 5-10 minutes.


Now its just about adding the rest of the ingredients in increments. First the potatoes, allow to cook for 10 minutes. Add the corn, cook 5 more minutes.


Sausage goes next for another 5. Since its already cooked, your just looking to heat it through. Shrimp goes in last. Once you place the shrimp in, turn off the heat, put a lid on it and leave it alone for 2-3 minutes.


Thats it!! Your done & ready to serve!! 

If you would like to do it the traditional way, lay out newspaper (preferably outside), ladle all the goodness & allow everyone to dig in!! 

I decided to use a big platter & just some paper plates. I don't allow the use of forks with this dish. Eating with your hands is part of the fun!! 

For a quick sauce to dunk the pieces of shrimp and sausage in, mix about 2 T. of butter with a ladle full of the stock. You can also serve this with just some drawn butter, hot sauce & an ice cold beverage! 


This dish really is easy, fun & delicious!! The best part is that you can add anything you like!! Throw in a couple different types of sausage, crawfish, crab legs..etc...Your guaranteed to wow the crowd & its a great meal to enjoy outside on a warm summer day with friends!!! 

----------------------

Enjoy & Always Cook with Love!!